Frame bags
To make sure you get the perfect bag to suit your needs. I offer quite some customisation on the frame bags. The ordering form may look a bit daunting, but after reading this page I’m sure you can make an informed decision.
The process
After ordering a frame bag I will need you to send me a picture of your bike to make a pattern for your bag. To make sure the picture accurately reflects the shape of your bike it is important you follow these instructions. After receiving the picture I will check if its fit for use and get back to you with a drawing of the bag. This drawing will show the zipper configuration, colour scheme, and mounting options. This gives you an opportunity to ask for tweaks and changes, and only when you are happy with my proposal I will proceed with making the bag.
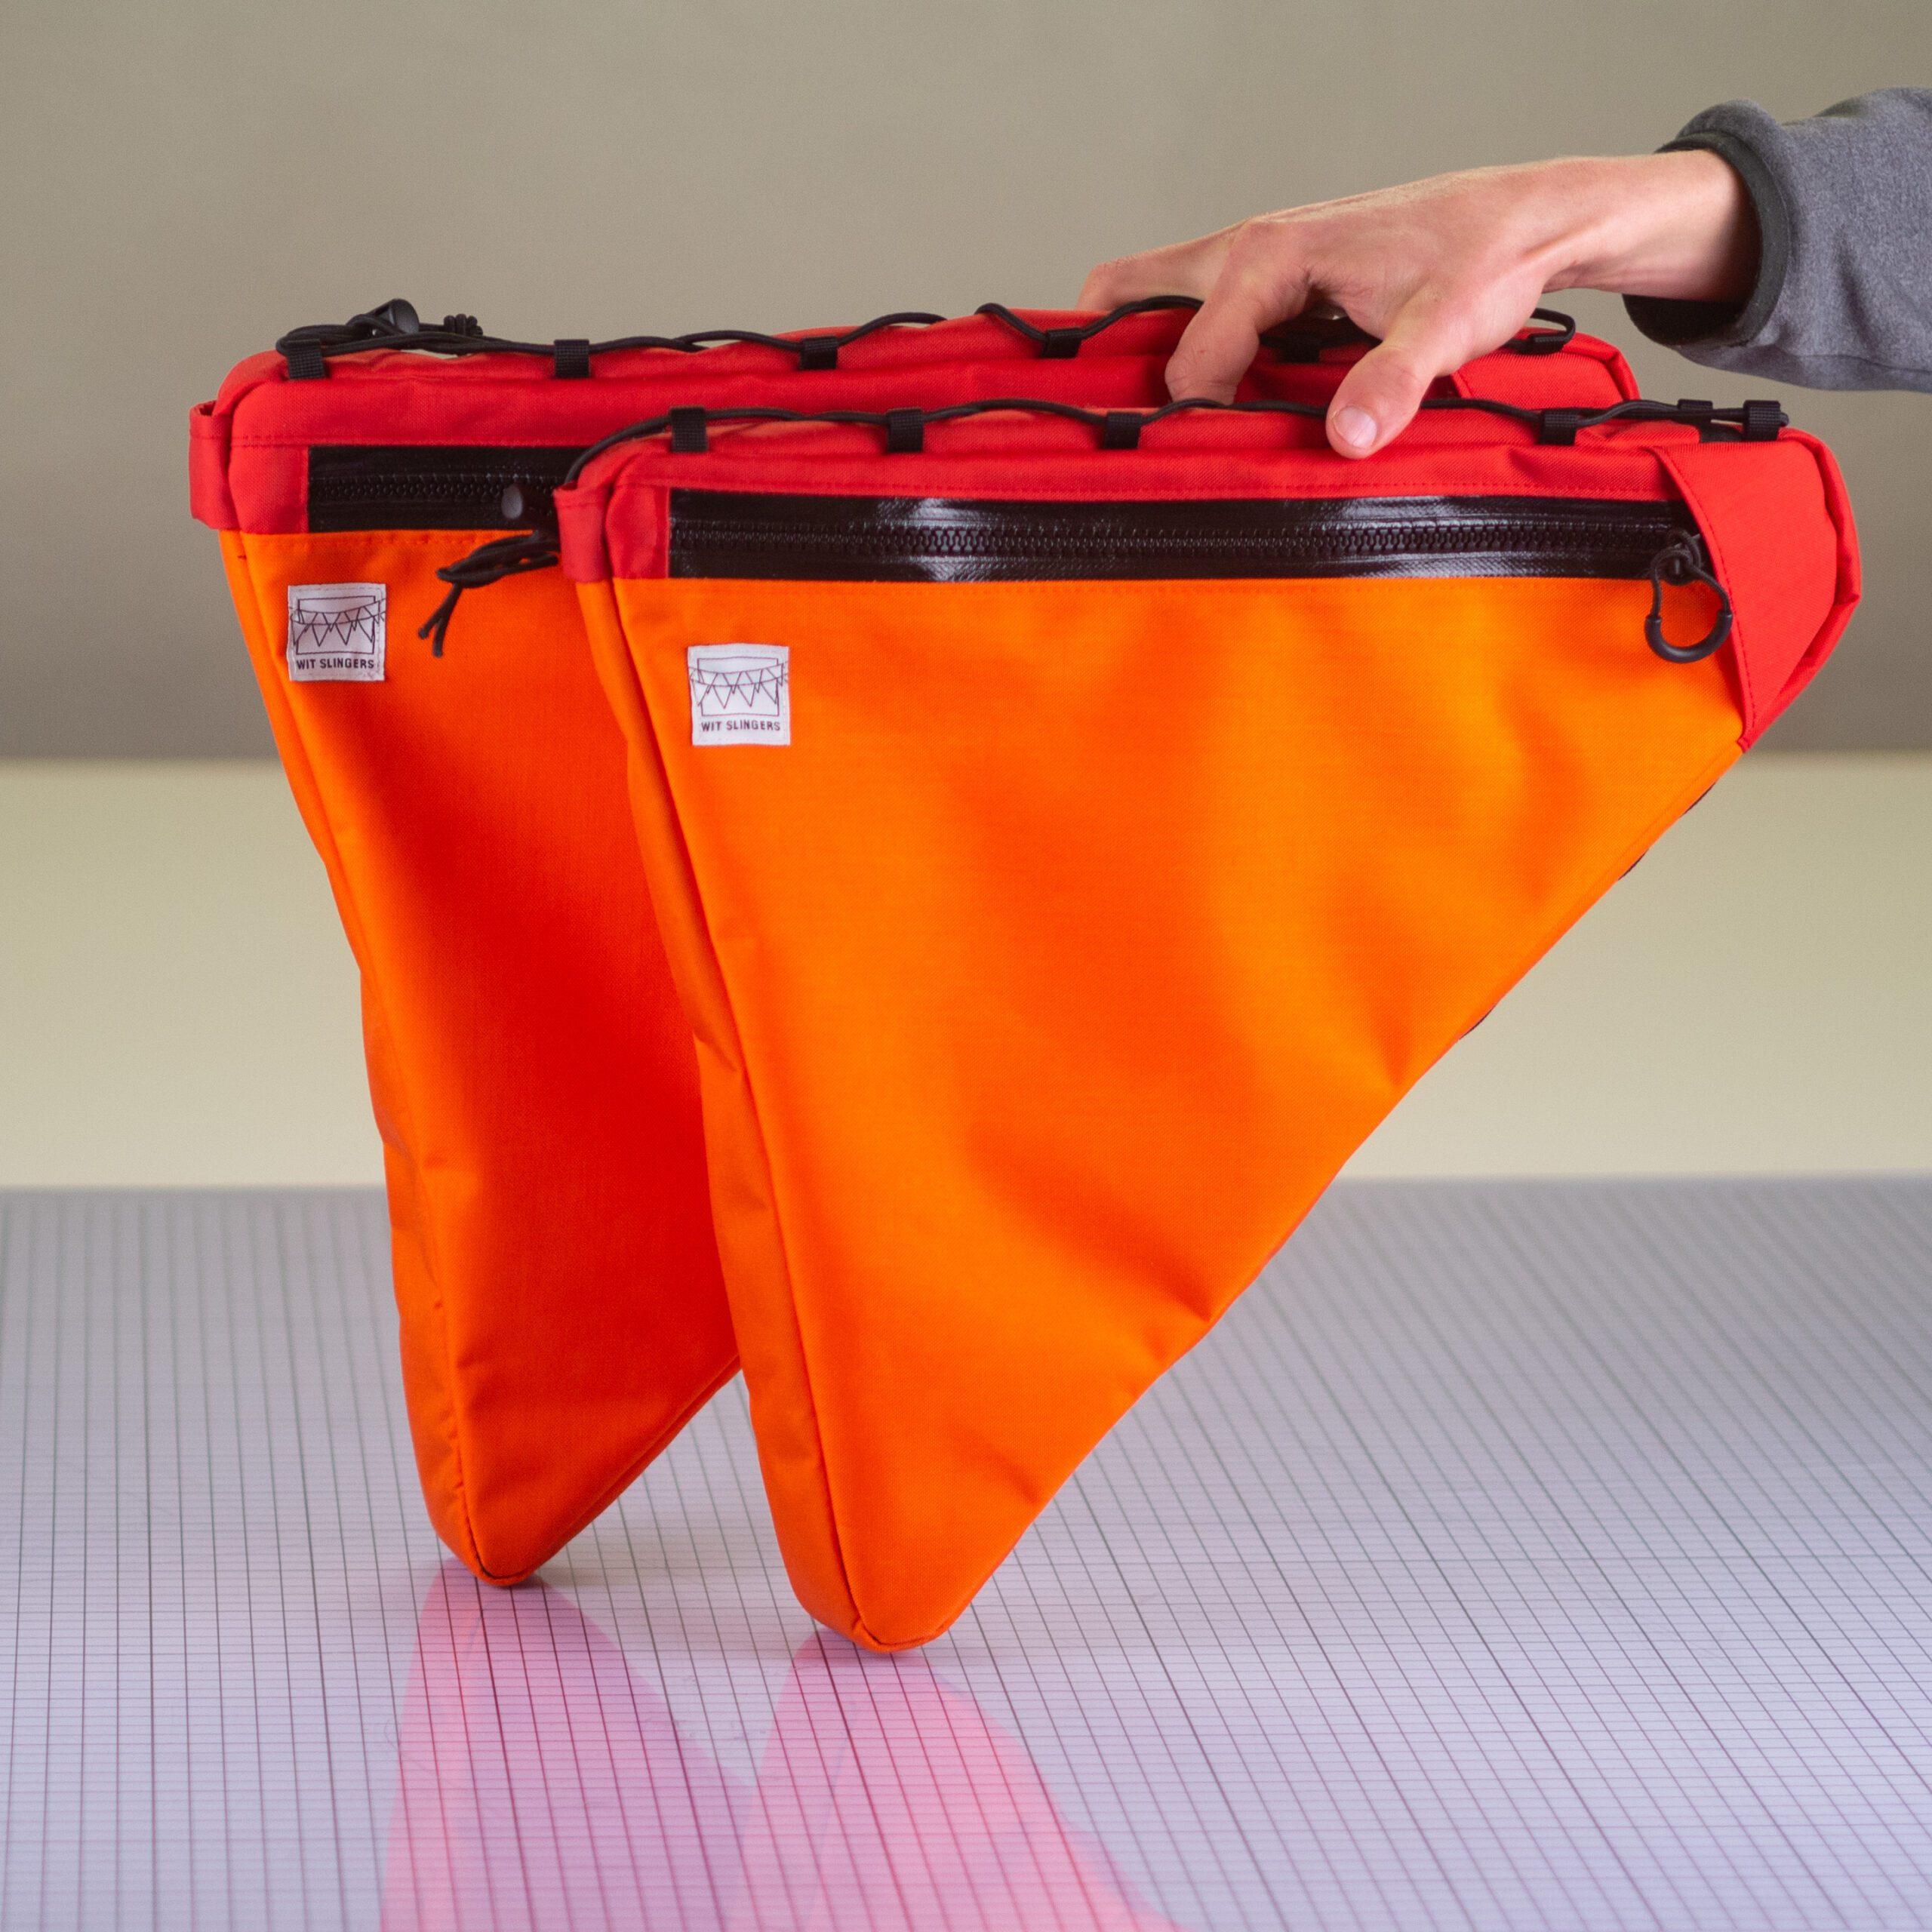
The bags
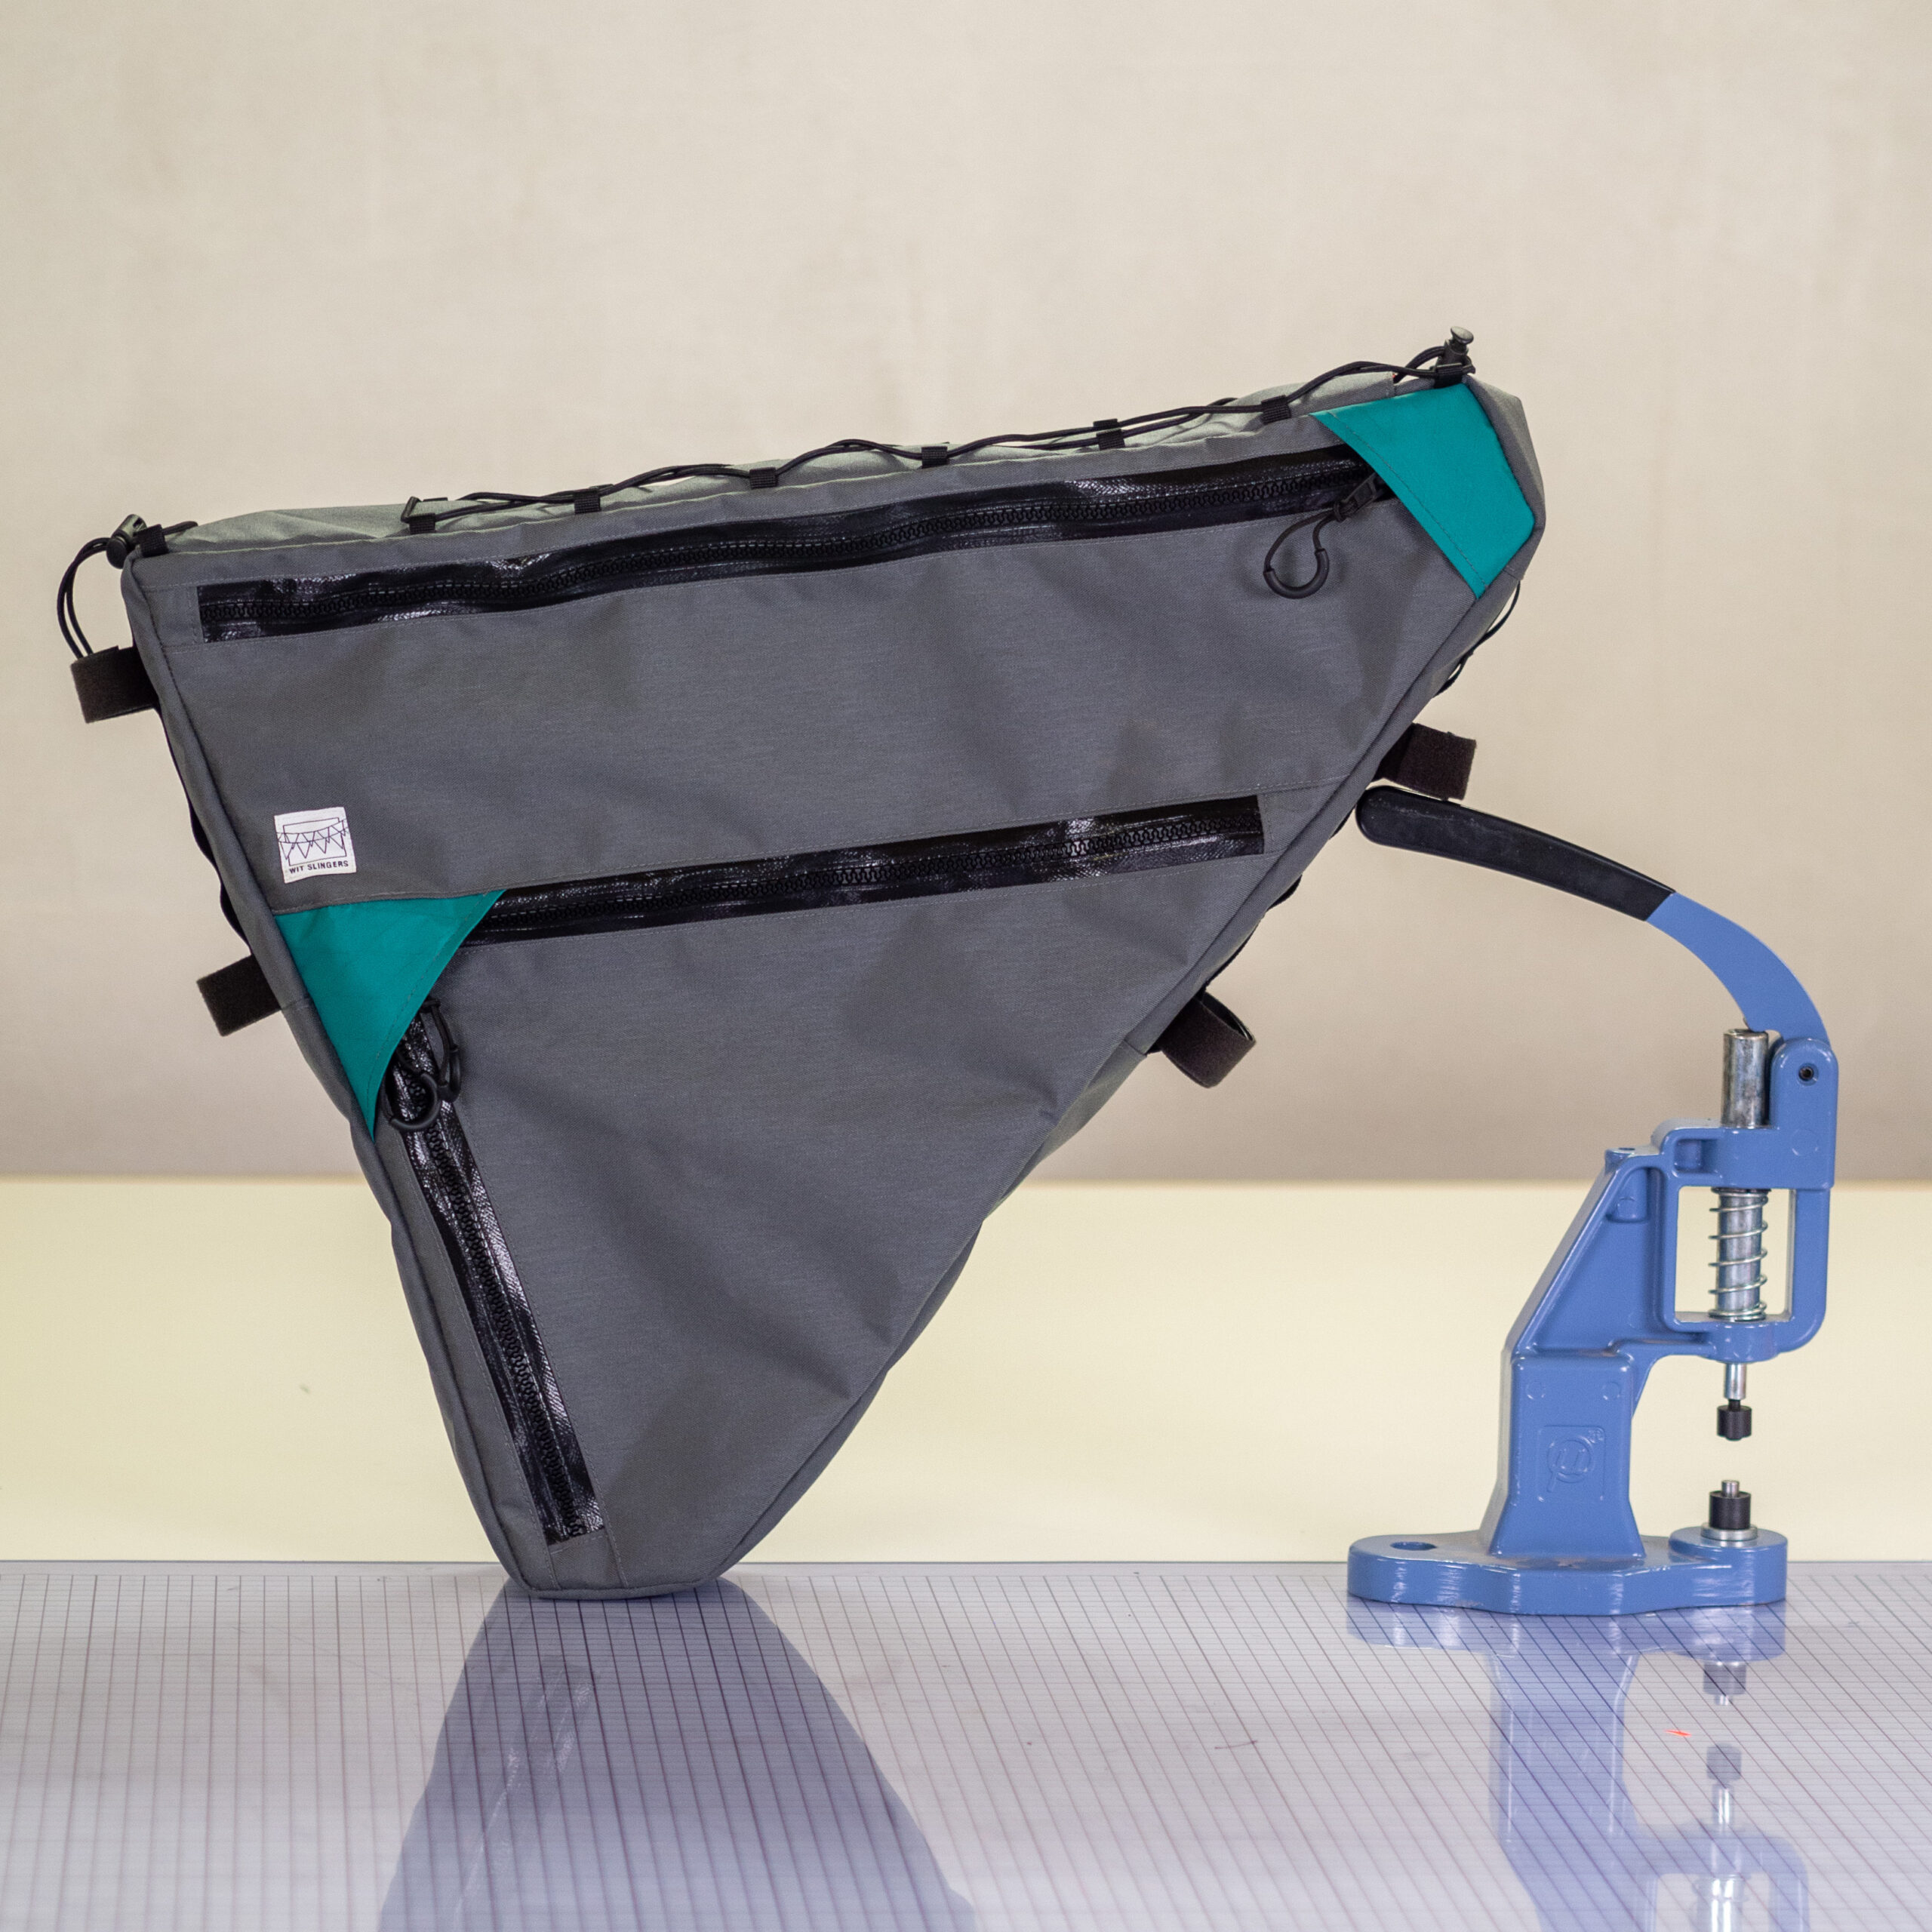
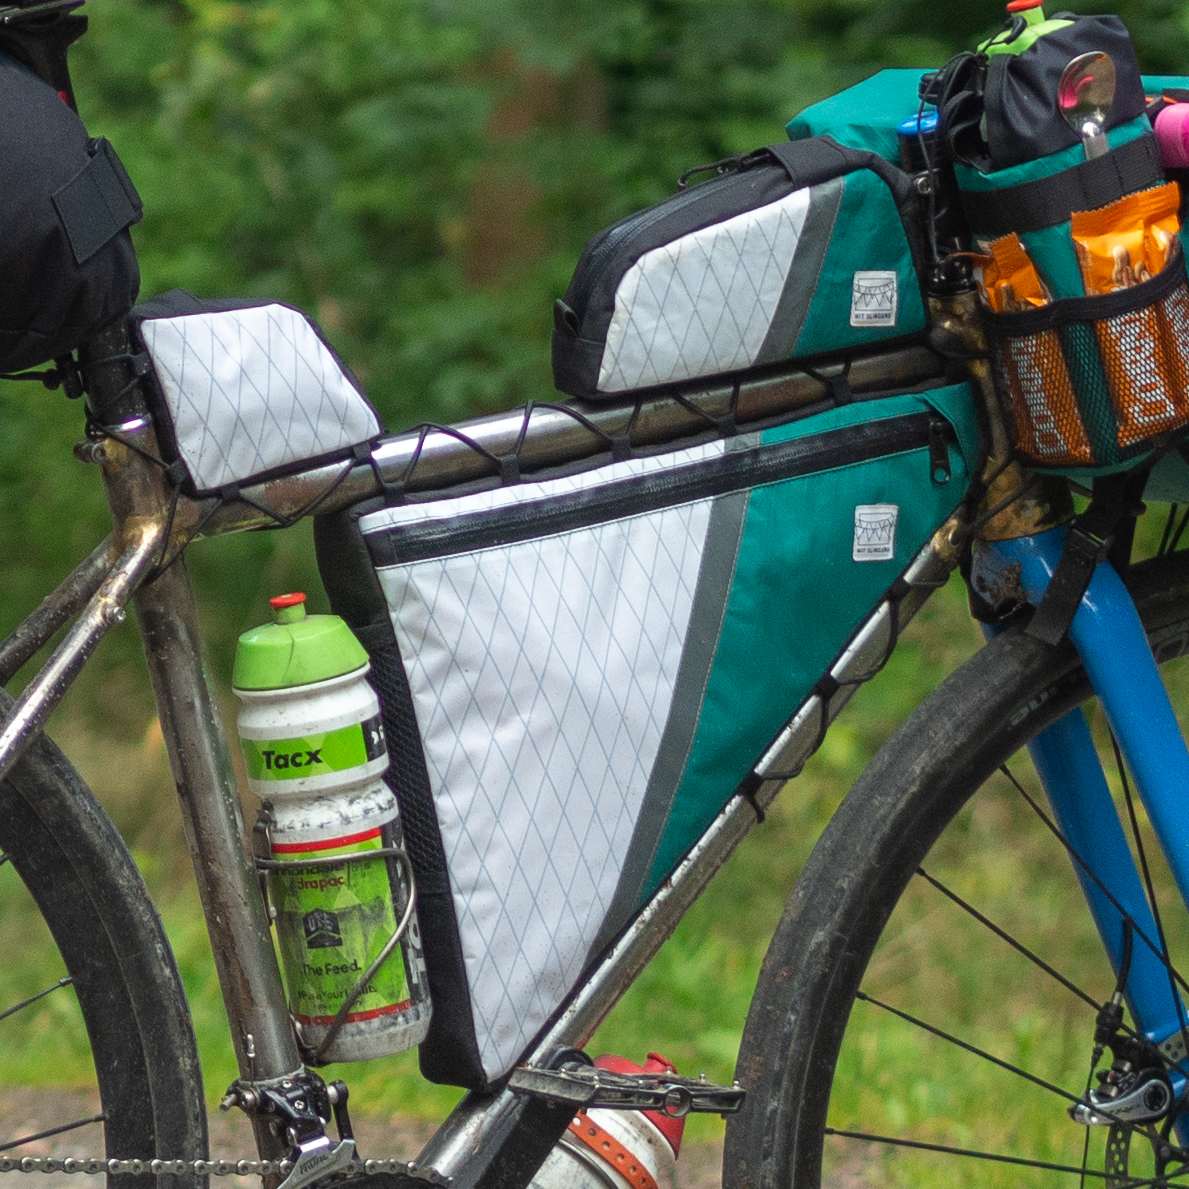
In the base configuration a frame bag has one zipper to give access to the main compartment, I put this on the drive side unless specified otherwise. Each bag gets a vertical divider to aid with organisation and to keep the bag from bulging. The bags have closed cell foam all around the perimeter, this helps them keep shape and avoids things from clattering against the tubes.
All frame bags are constructed in such a way that internal organisation features are stitched to the lining and not visible on the outside, not only does this look cleaner it eliminates lots of small points for water to get into the bag. The only exception to this is a flat pocket on full frame bags, in this case I use a matching thread.
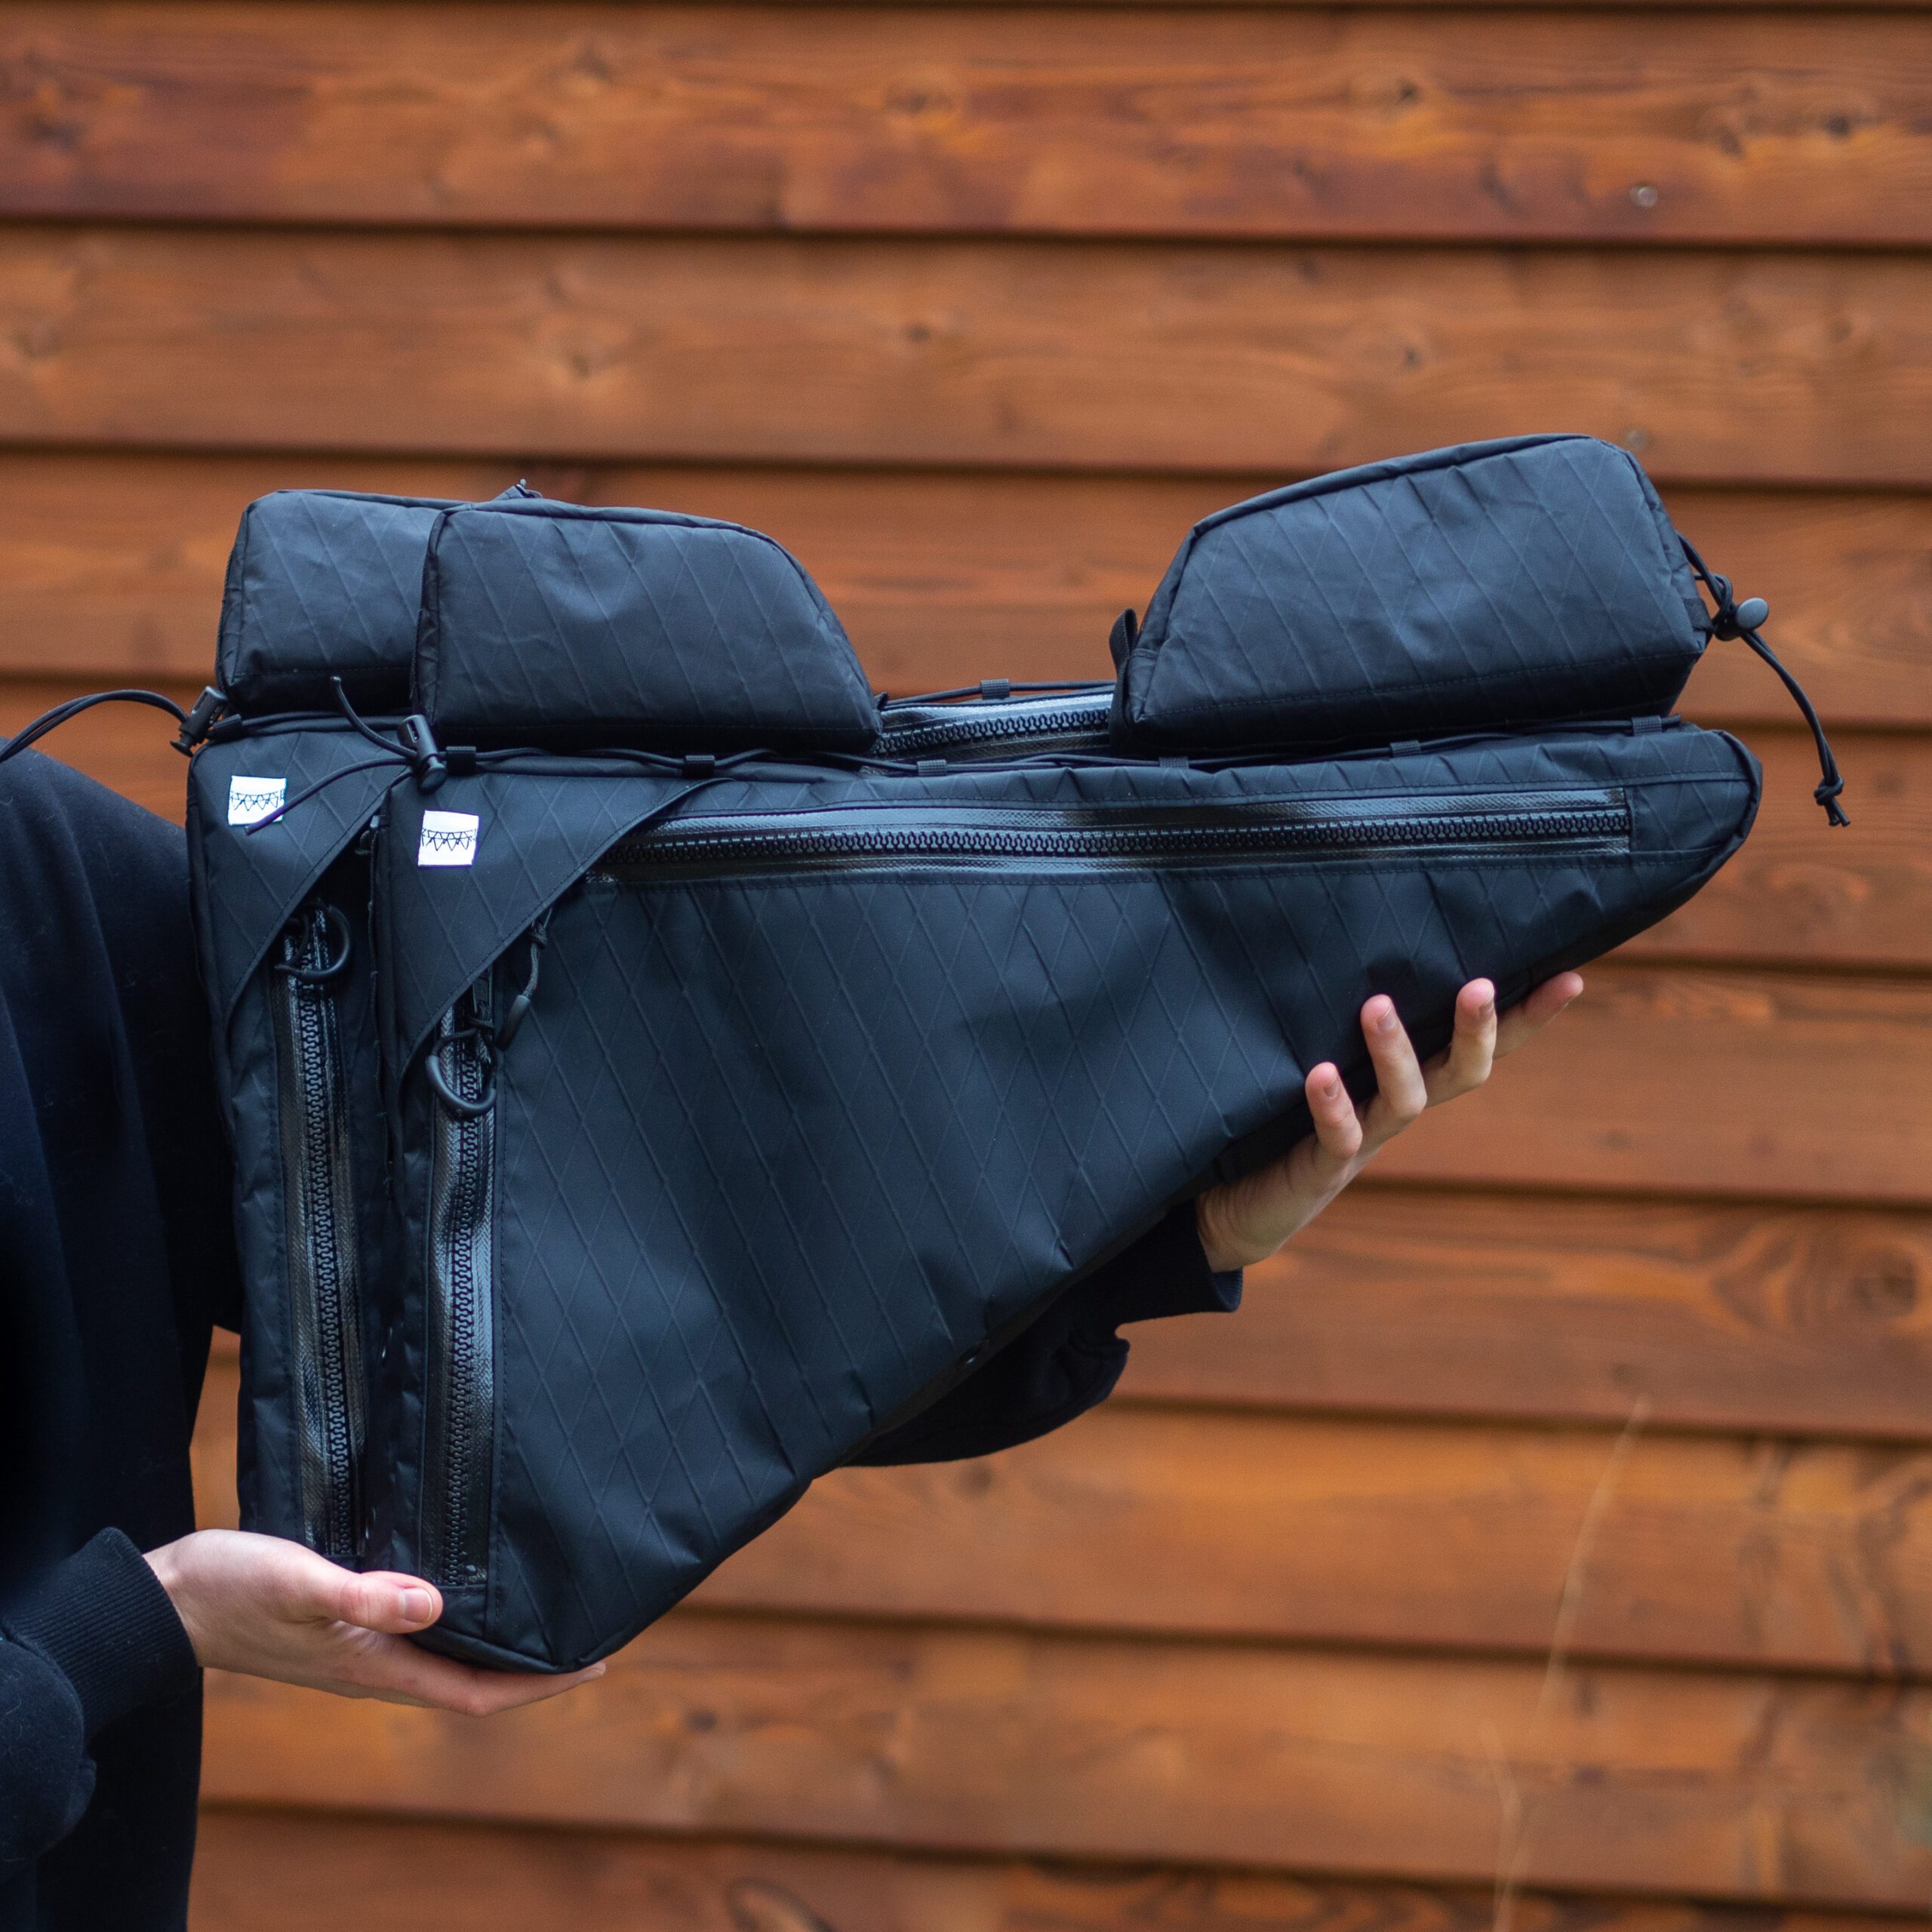
Zipper configuration
On full frame bags it might be worthwhile to add an extra zip, this can be done in various ways:
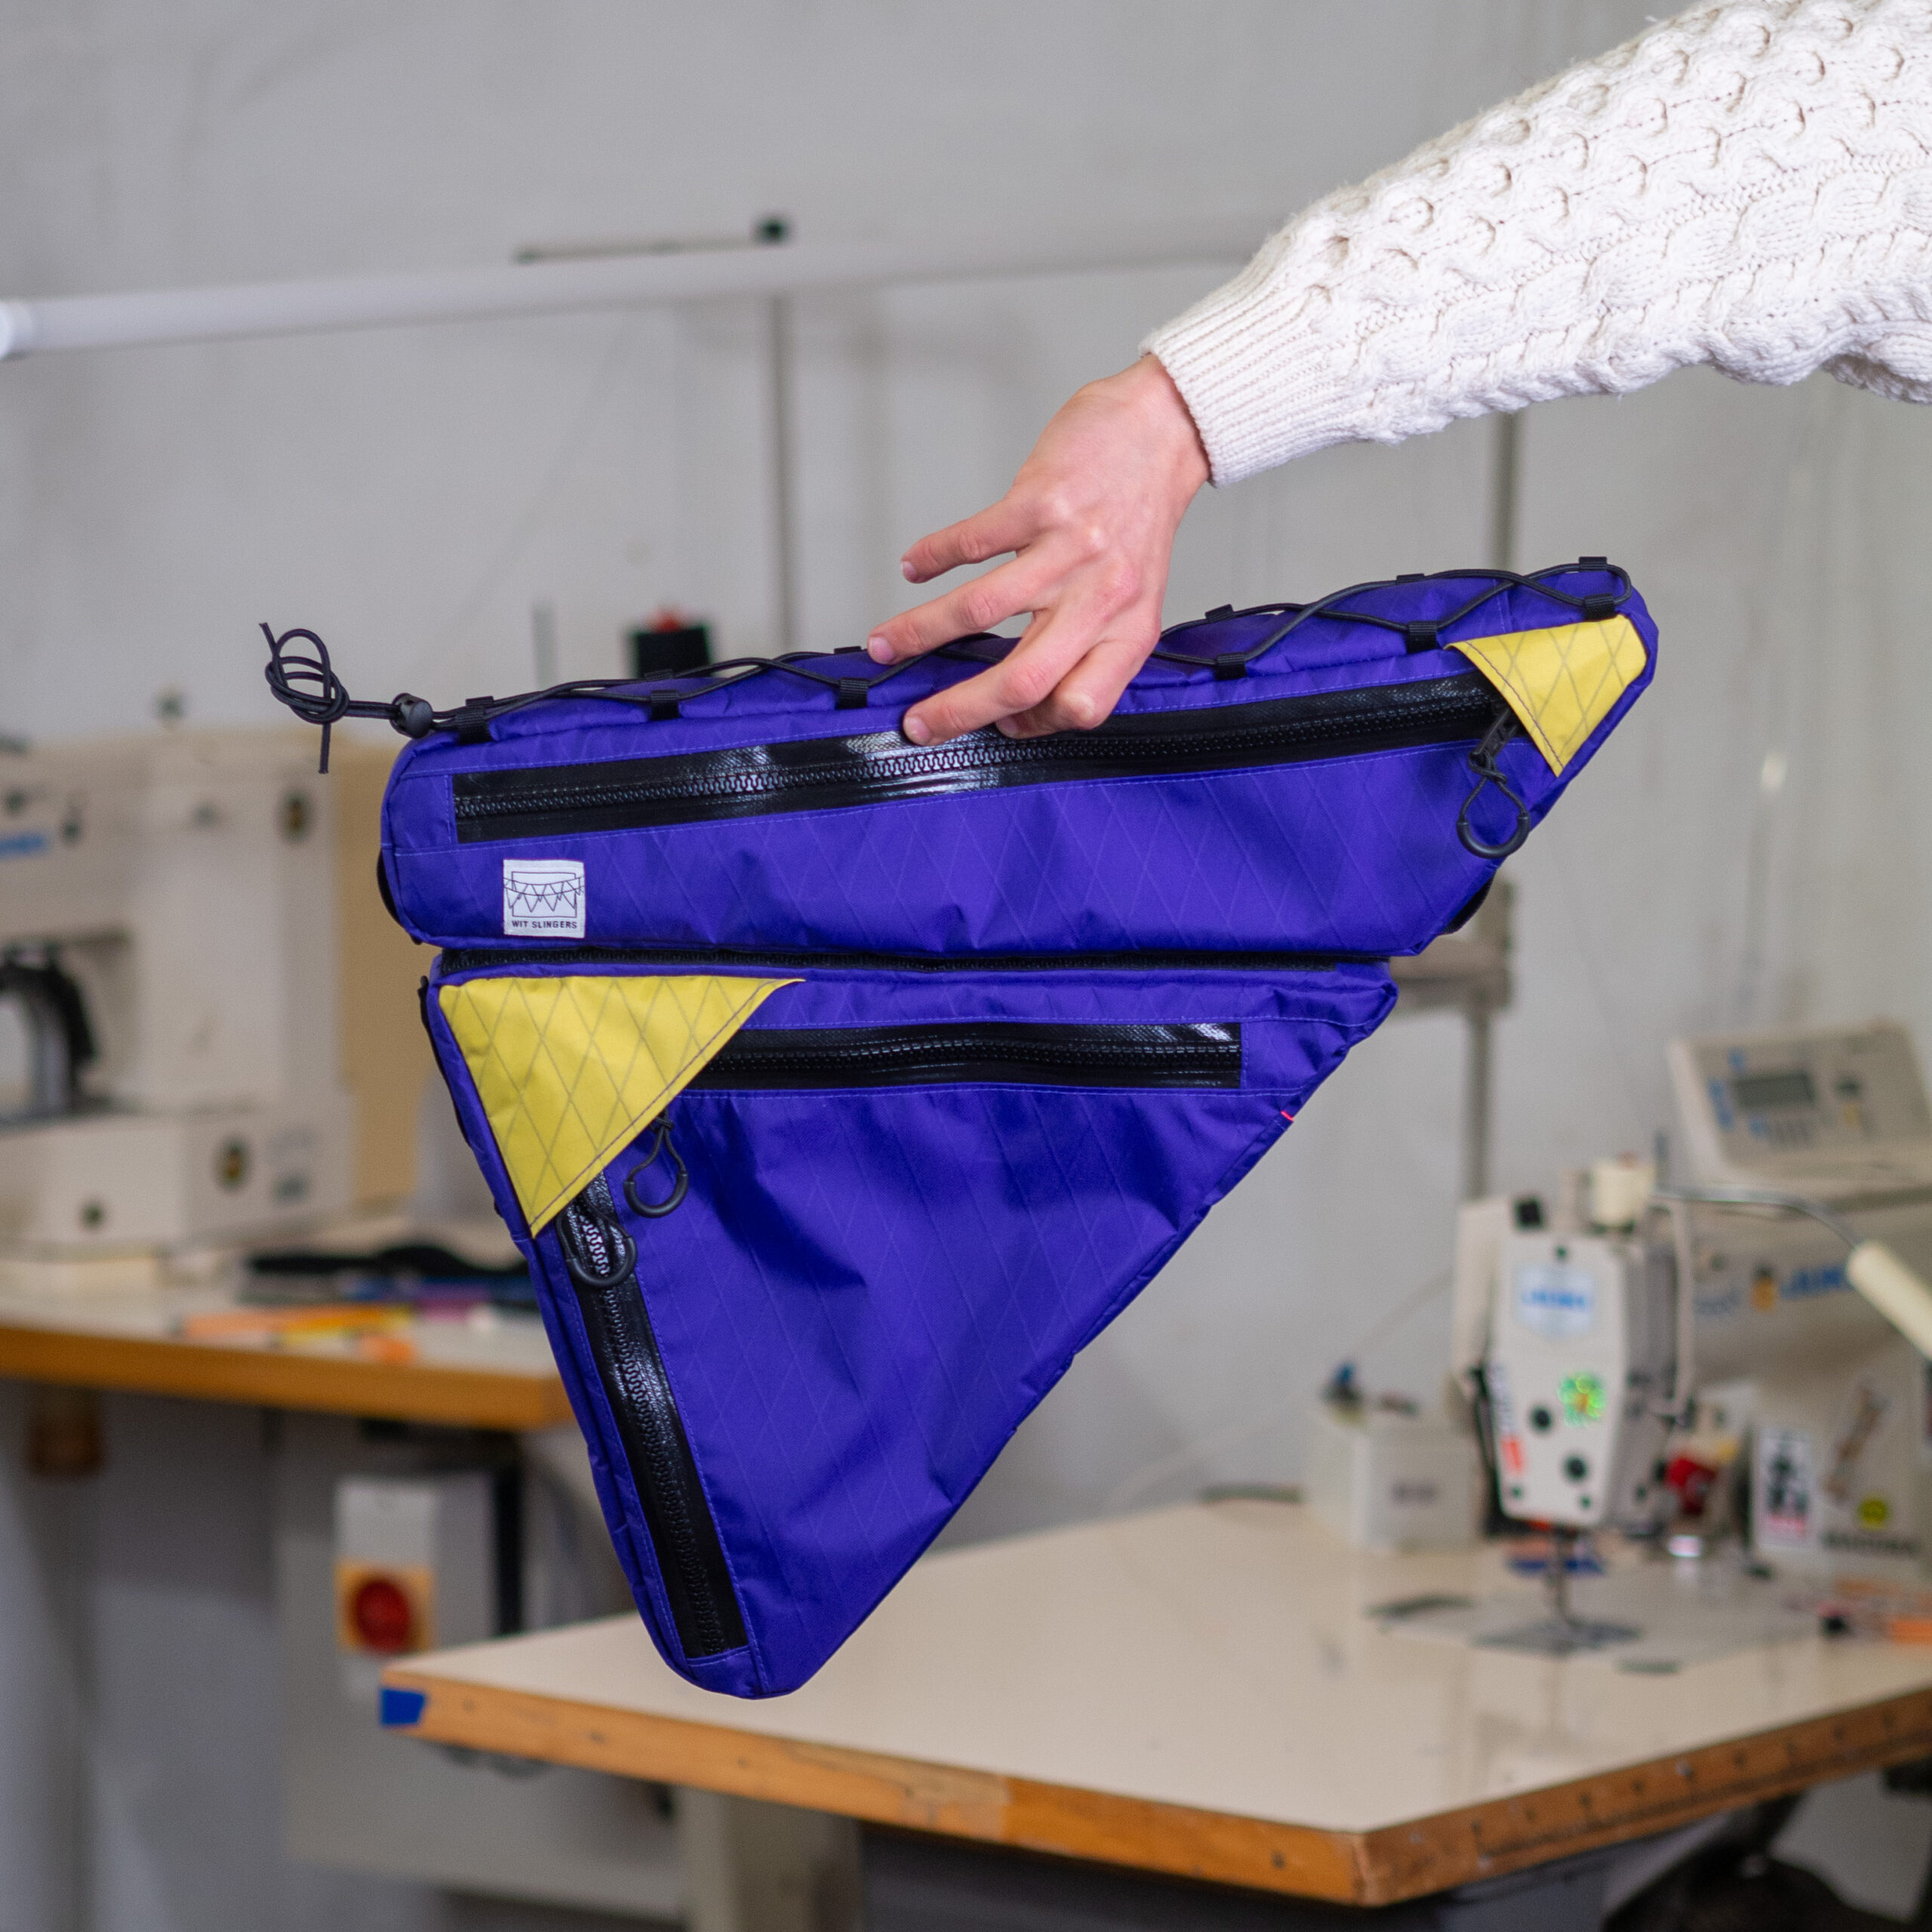
Horizontal divider
By dividing the main compartment into two parts you don’t have to dig through heaps of stuff to reach your puncture kit for example.
L-zip
If you want to carry a water bladder this configuration makes it easy to fit and remove it. My bladder of choice for this configuration is the Hydrapak Seeker in 2 or 3 liters depending on your size, it’s flat and tall proportions work well with a frame bag and the scew on lid makes it easy to fill whilst keeping the hose in place.
Horizontal divider with L-zip
This configuration works particularly well with Apidura’s frame bag specific bladders, the vertical zipper makes it easier to fit and remove.
Organisation
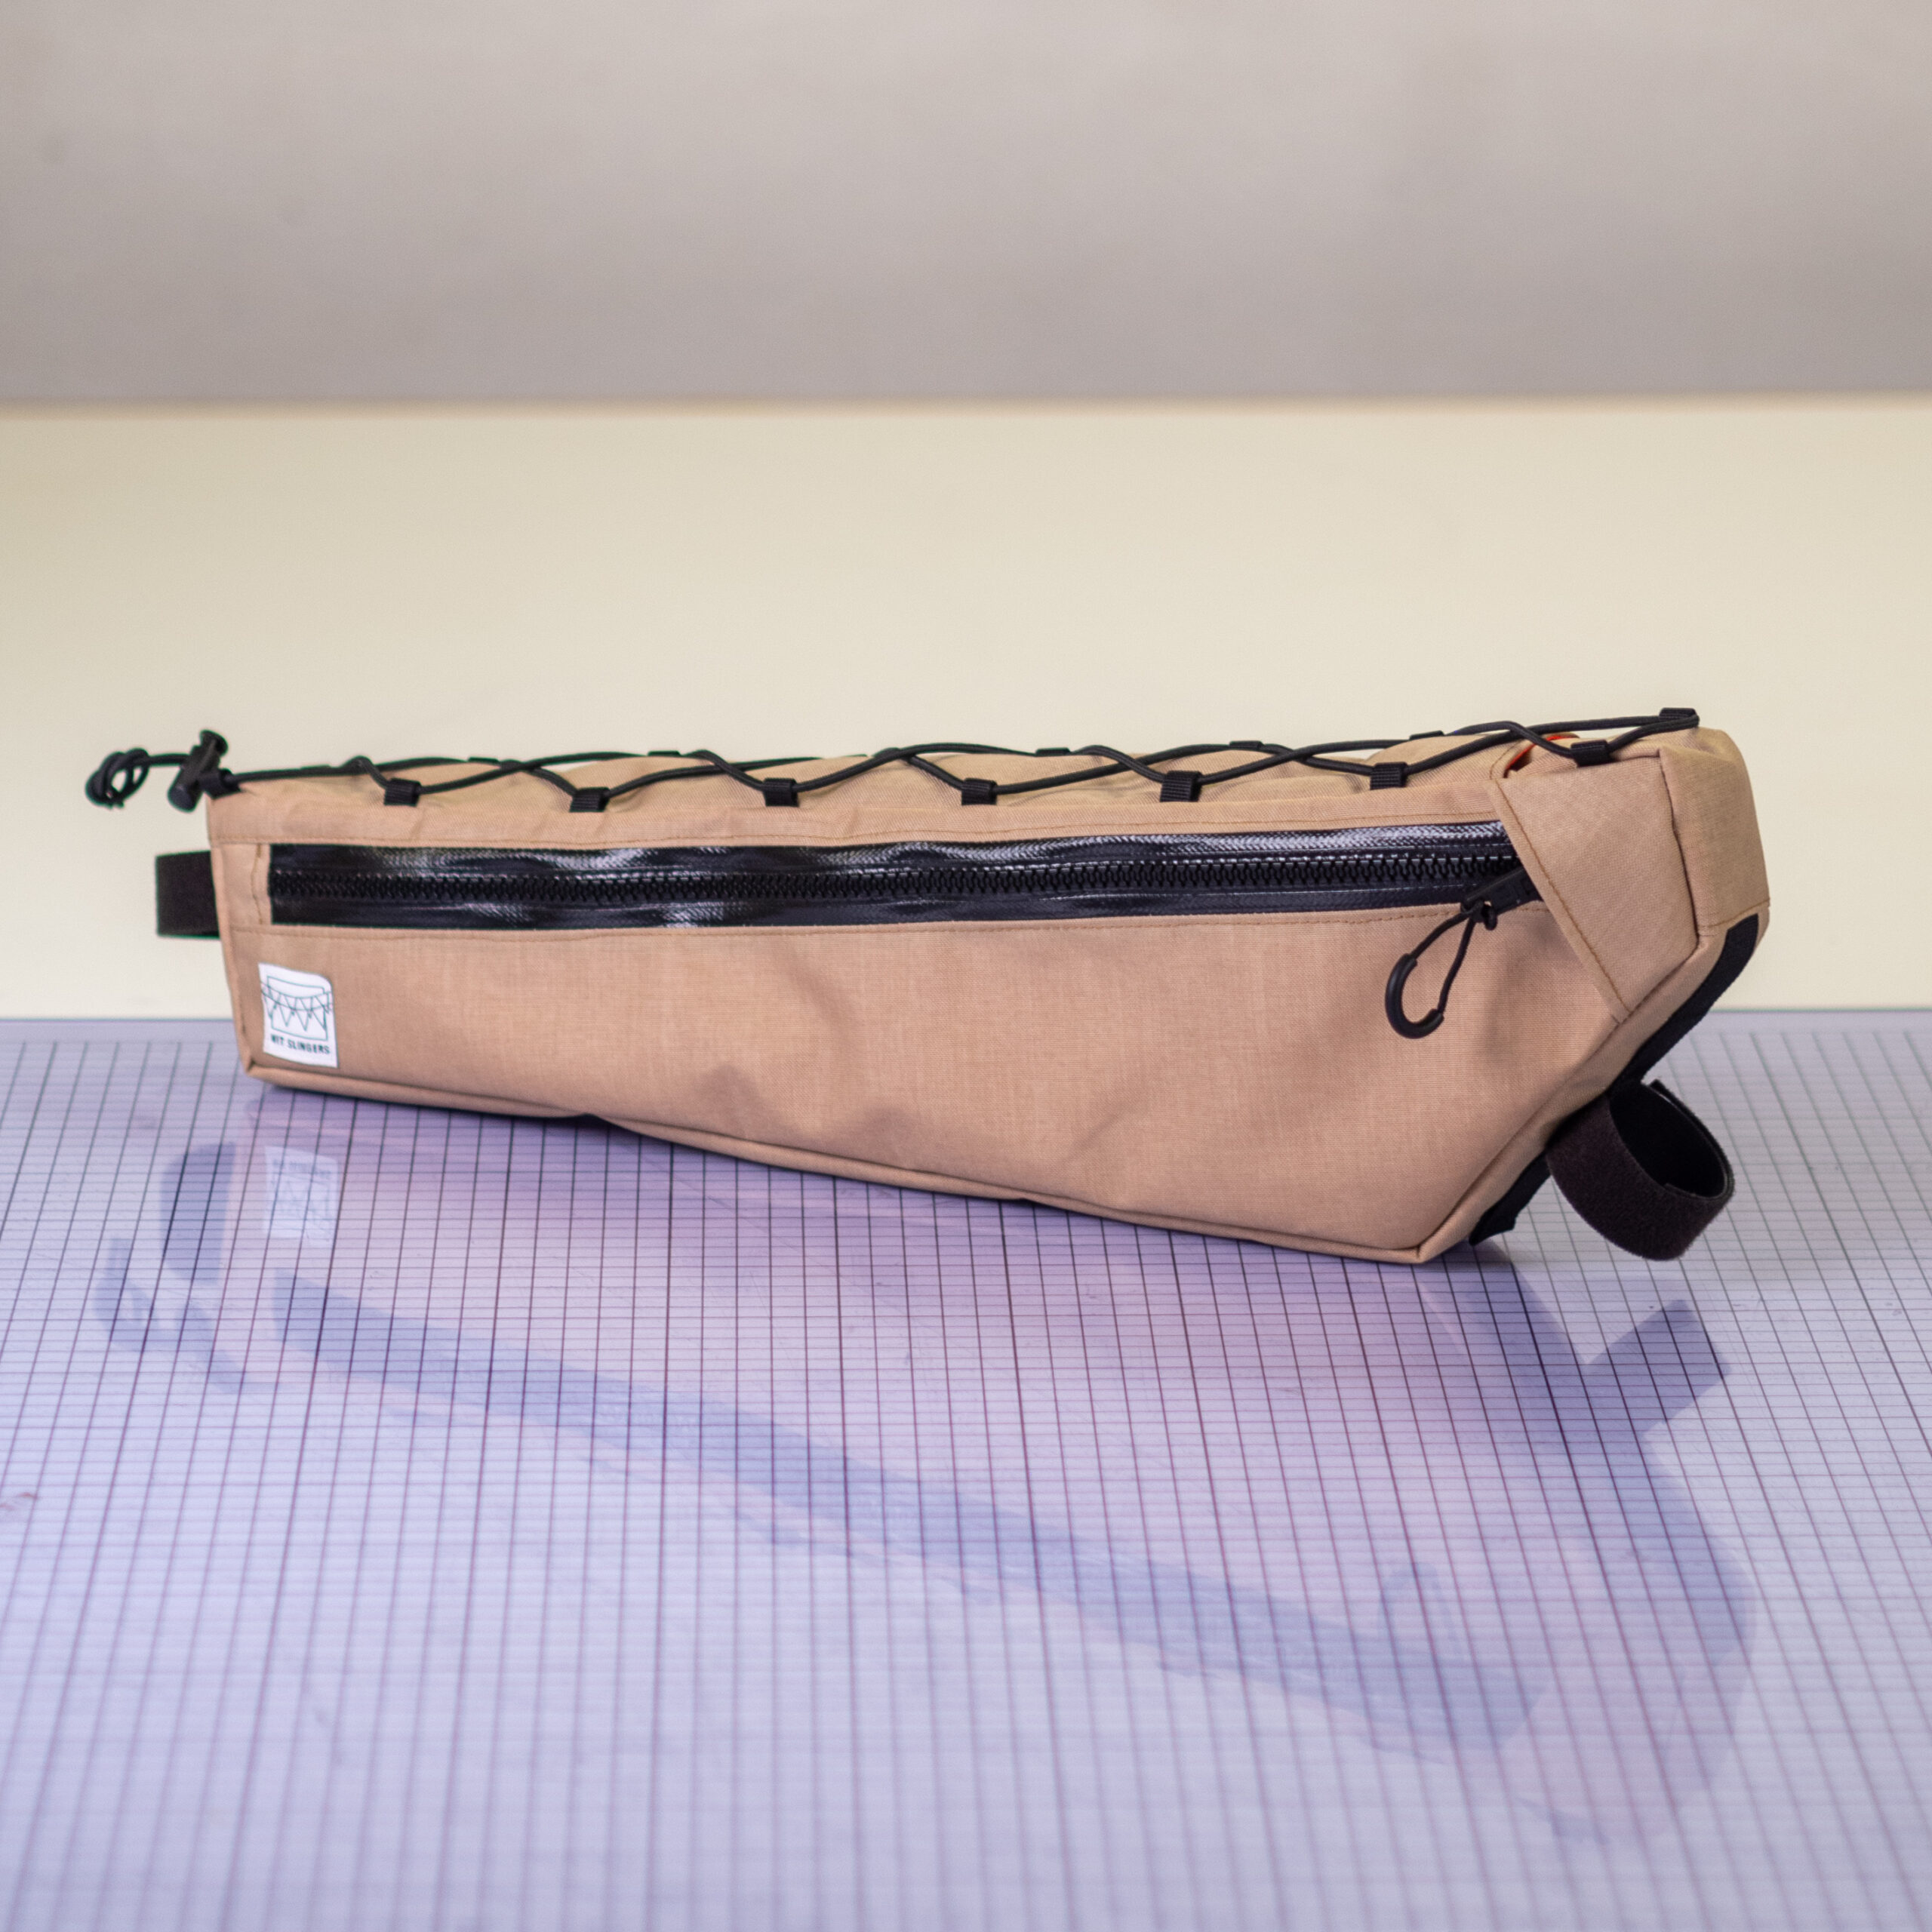
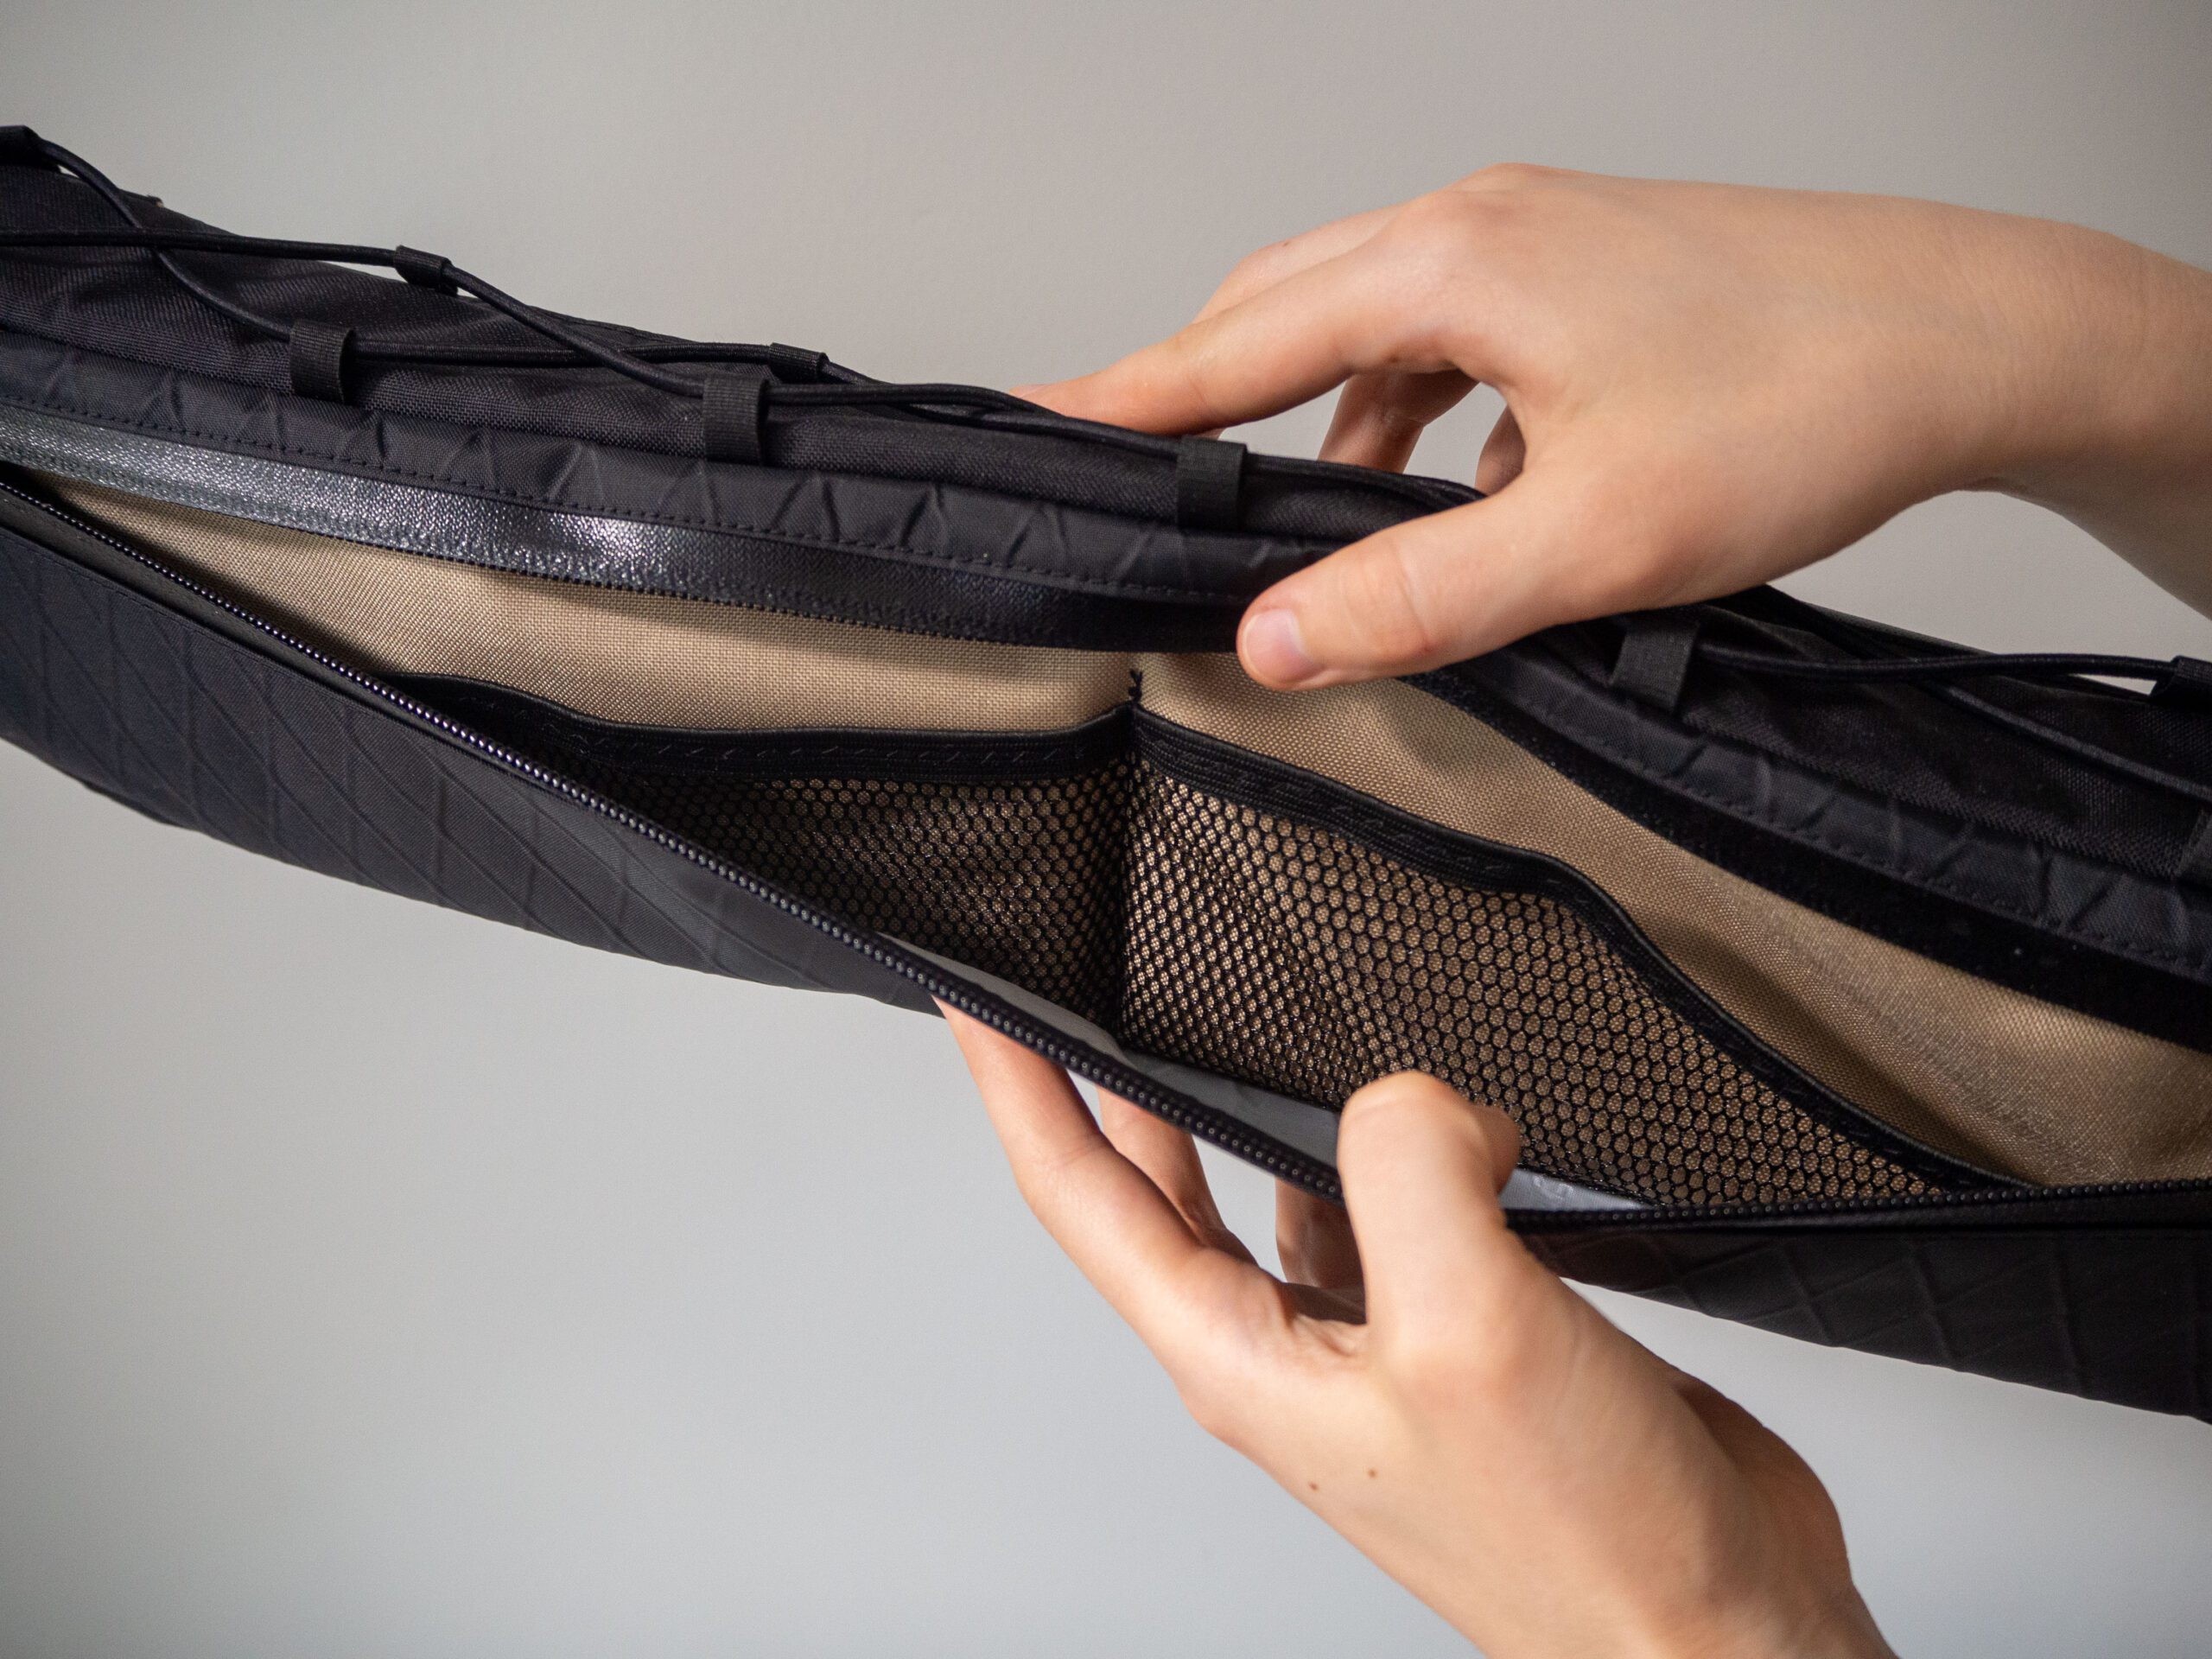
Flat pocket
This is perfect for keeping small things like your phone, wallet, and keys away from the rest of your stuff. This puts another zipper on the opposite side of the bag, that zipper access a flat pocket with a mesh inlay.
Daisy chain
If you want to keep your pump, tent poles, or similarly shaped items away from the contents of your bag you can strap them against the top tube by adding a length of daisy chain. Comes with half a meter of Velcro OneWrap for you to use as you see fit, that makes two long straps or three shorter ones.
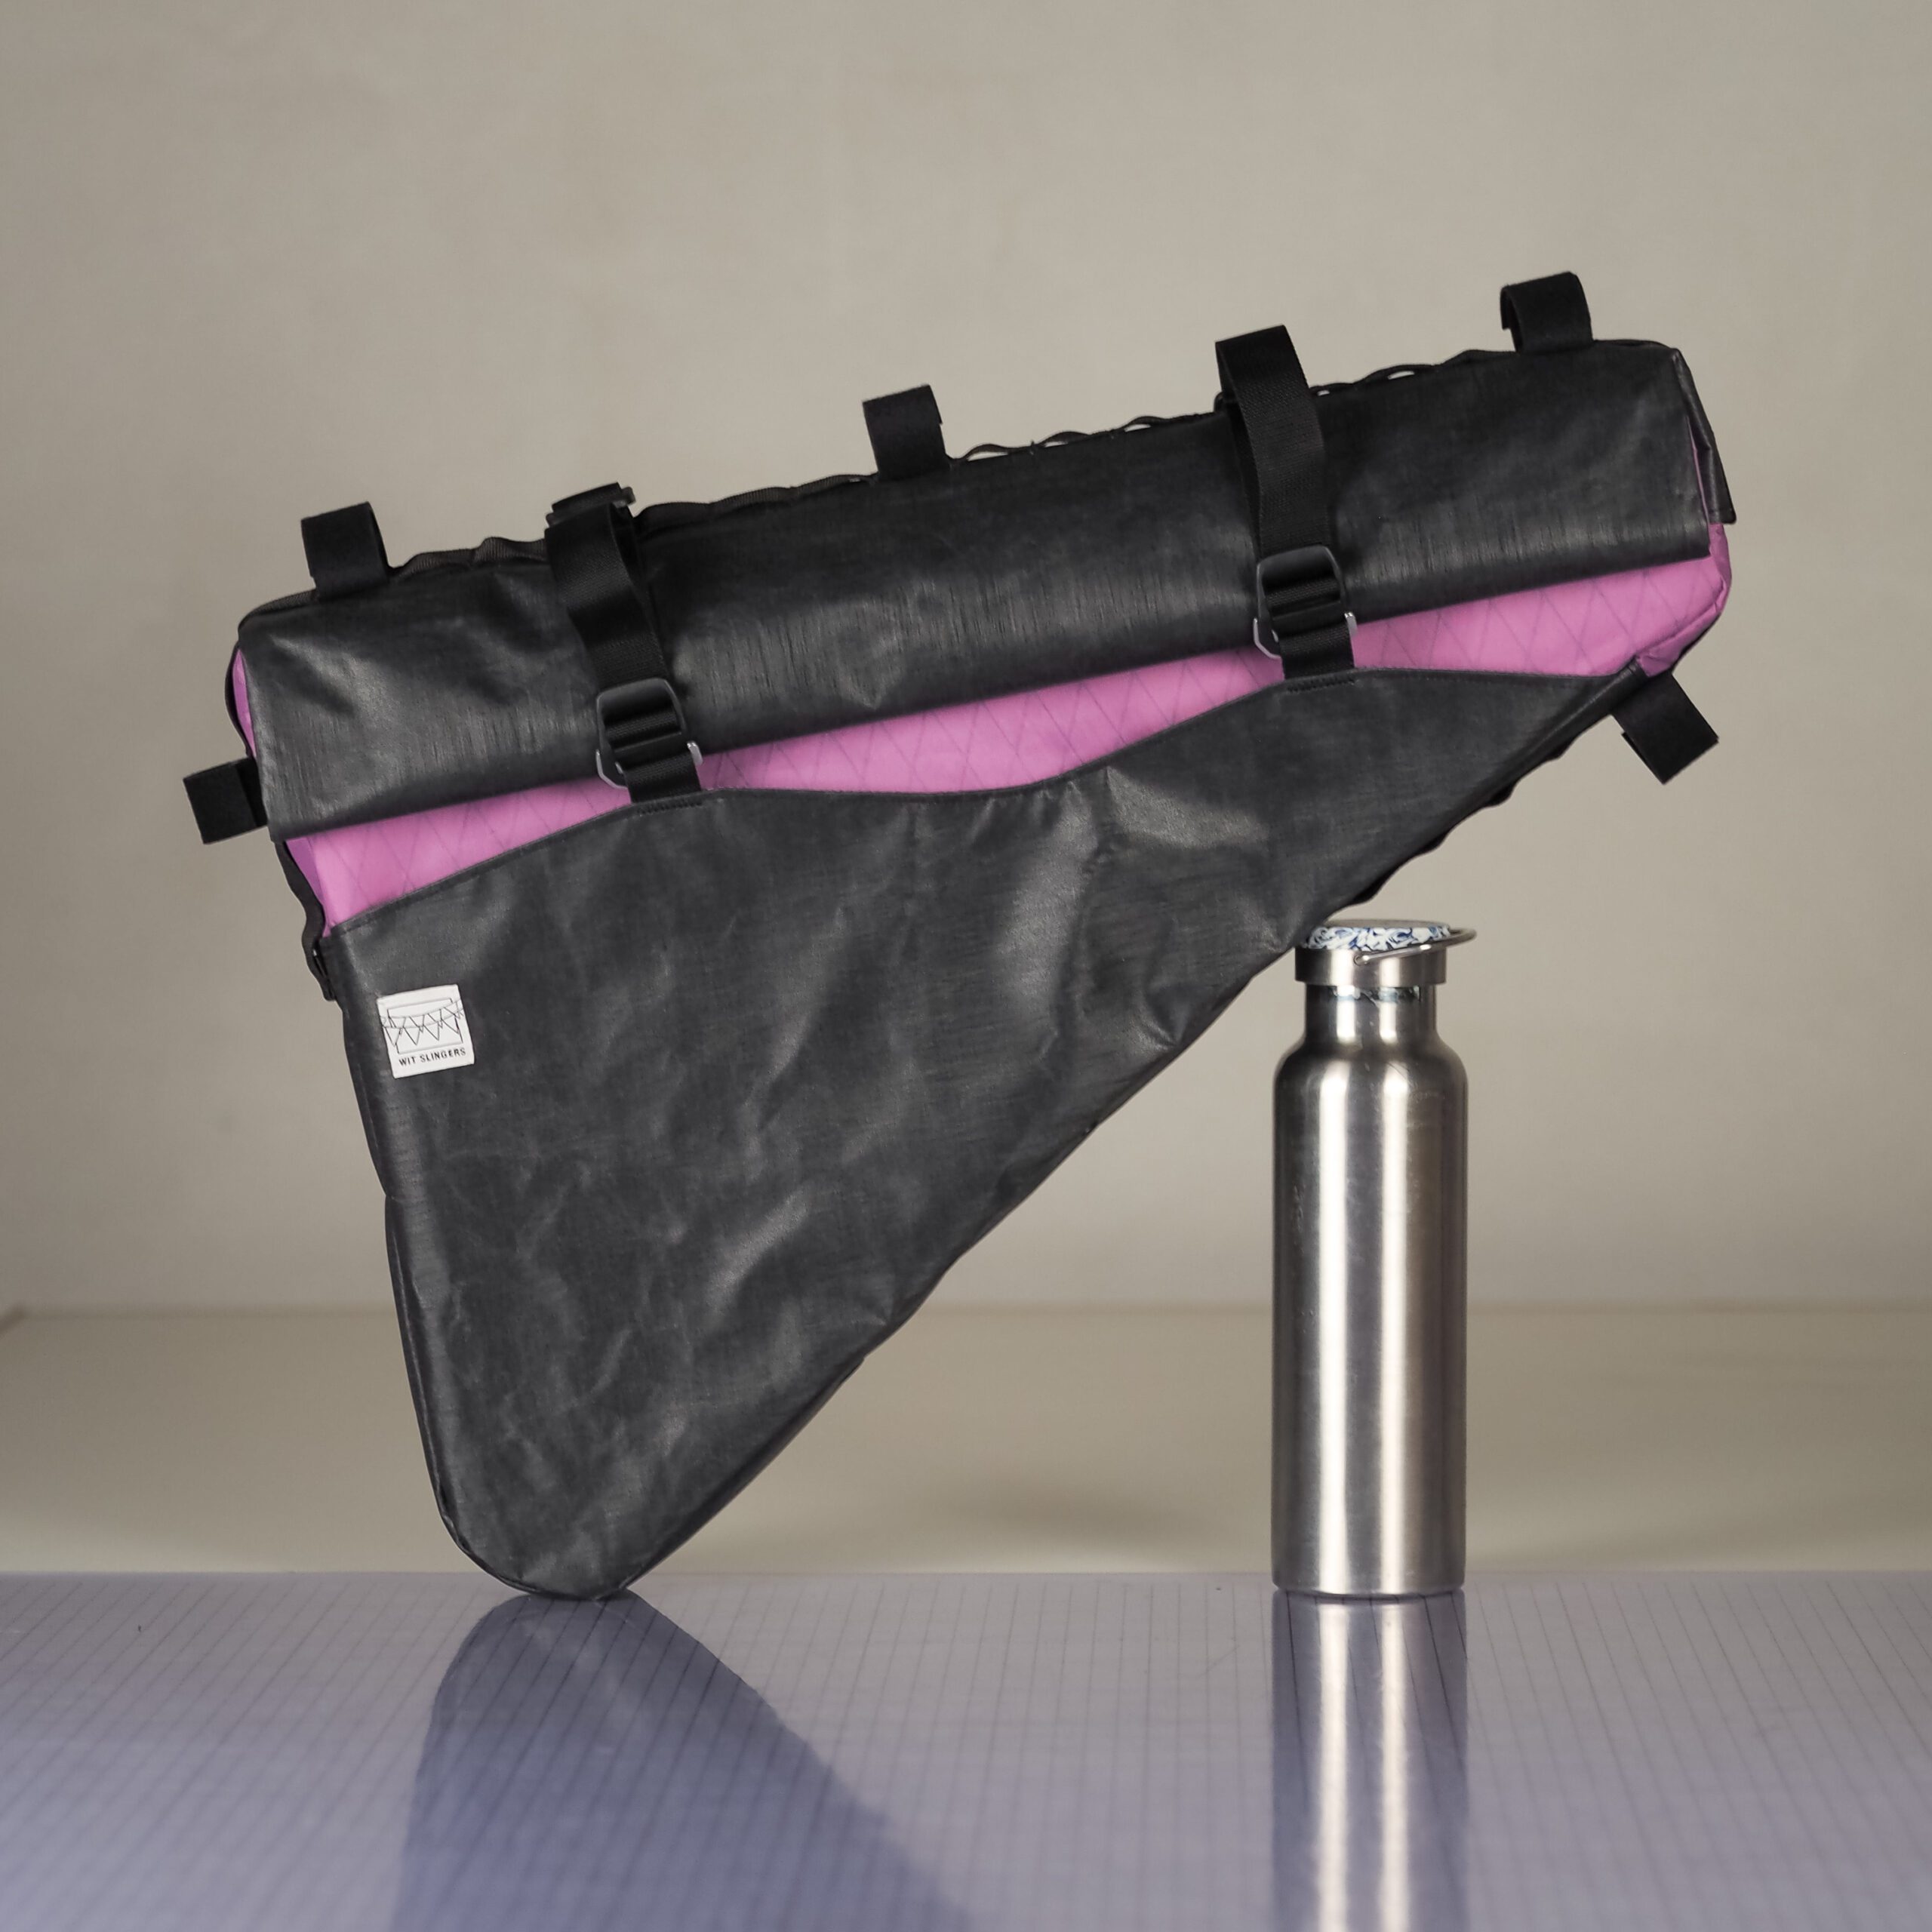
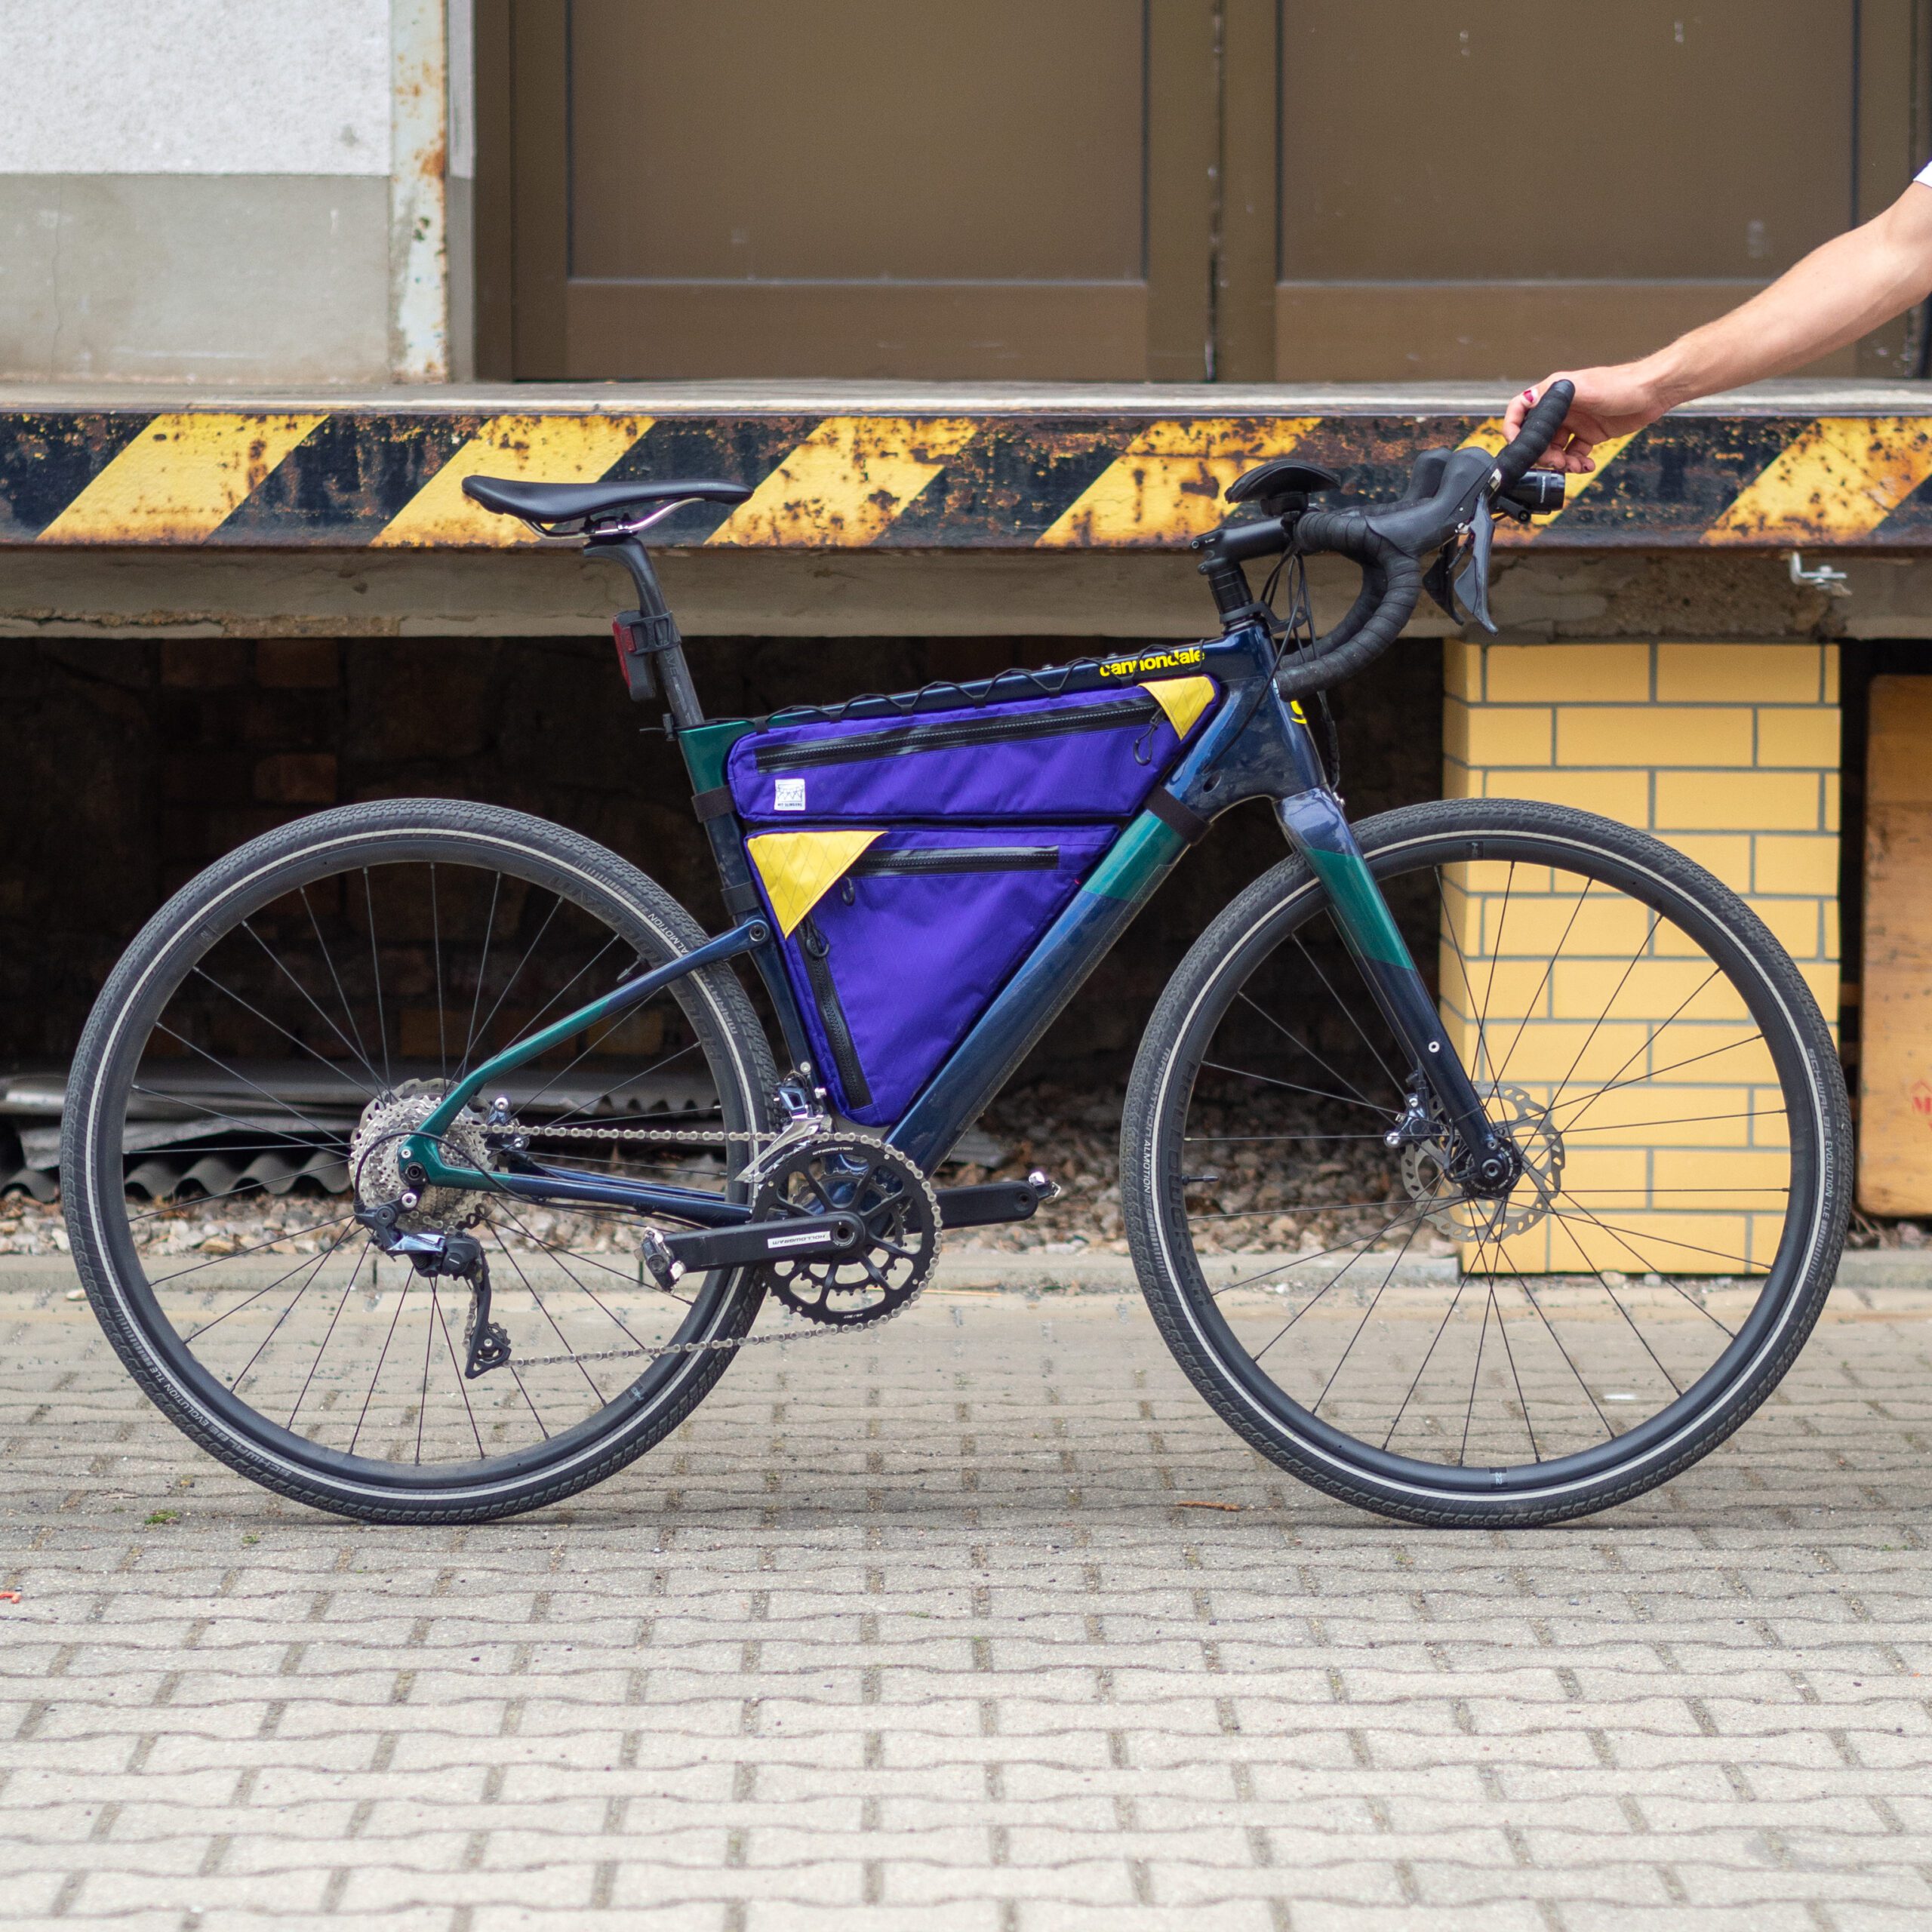
Mounting
Proper mounting is key for a well-fitting bag, no point in making a perfect fitting bag if it starts to sag as soon as you put something in it. There are multiple ways to go about it and often a mix is the best solution, so I let you specify it per tube.
I would generally advise going for a lace-up around the top tube and using a daisy chain (and bolt-on if possible) on the other tubes. To me that strikes the perfect balance between looks, ease of use, and stability.
Lace-up
Without doubt the most stable method for attaching a bag as it pulls the sides taut around the tube, because I use elastic cording this also takes stress off the zippers. The downside is that it’s a bit of a chore to fit and remove, as you have to weave the cord around the frame and through the little tabs.
Daisy chain
Also known as MOLLE, a row of webbing around the bag. You can stick Velcro OneWrap through it and have a bag that’s easily removed. If you’re particularly careful with your paint you could opt for replacing the Velcro with Voile Nano straps, because of they’re grippy nature they don’t scuff your paint.
Bolt-on
Mostly used on full frame bags, by putting an eyelet in the bag you can bolt it down with your bottle cage bolts, looks clean and is super stable. Some frames come with eyelets under the top tube, in which case you could go bolt-on all around for a slick and integrated look.